Little background
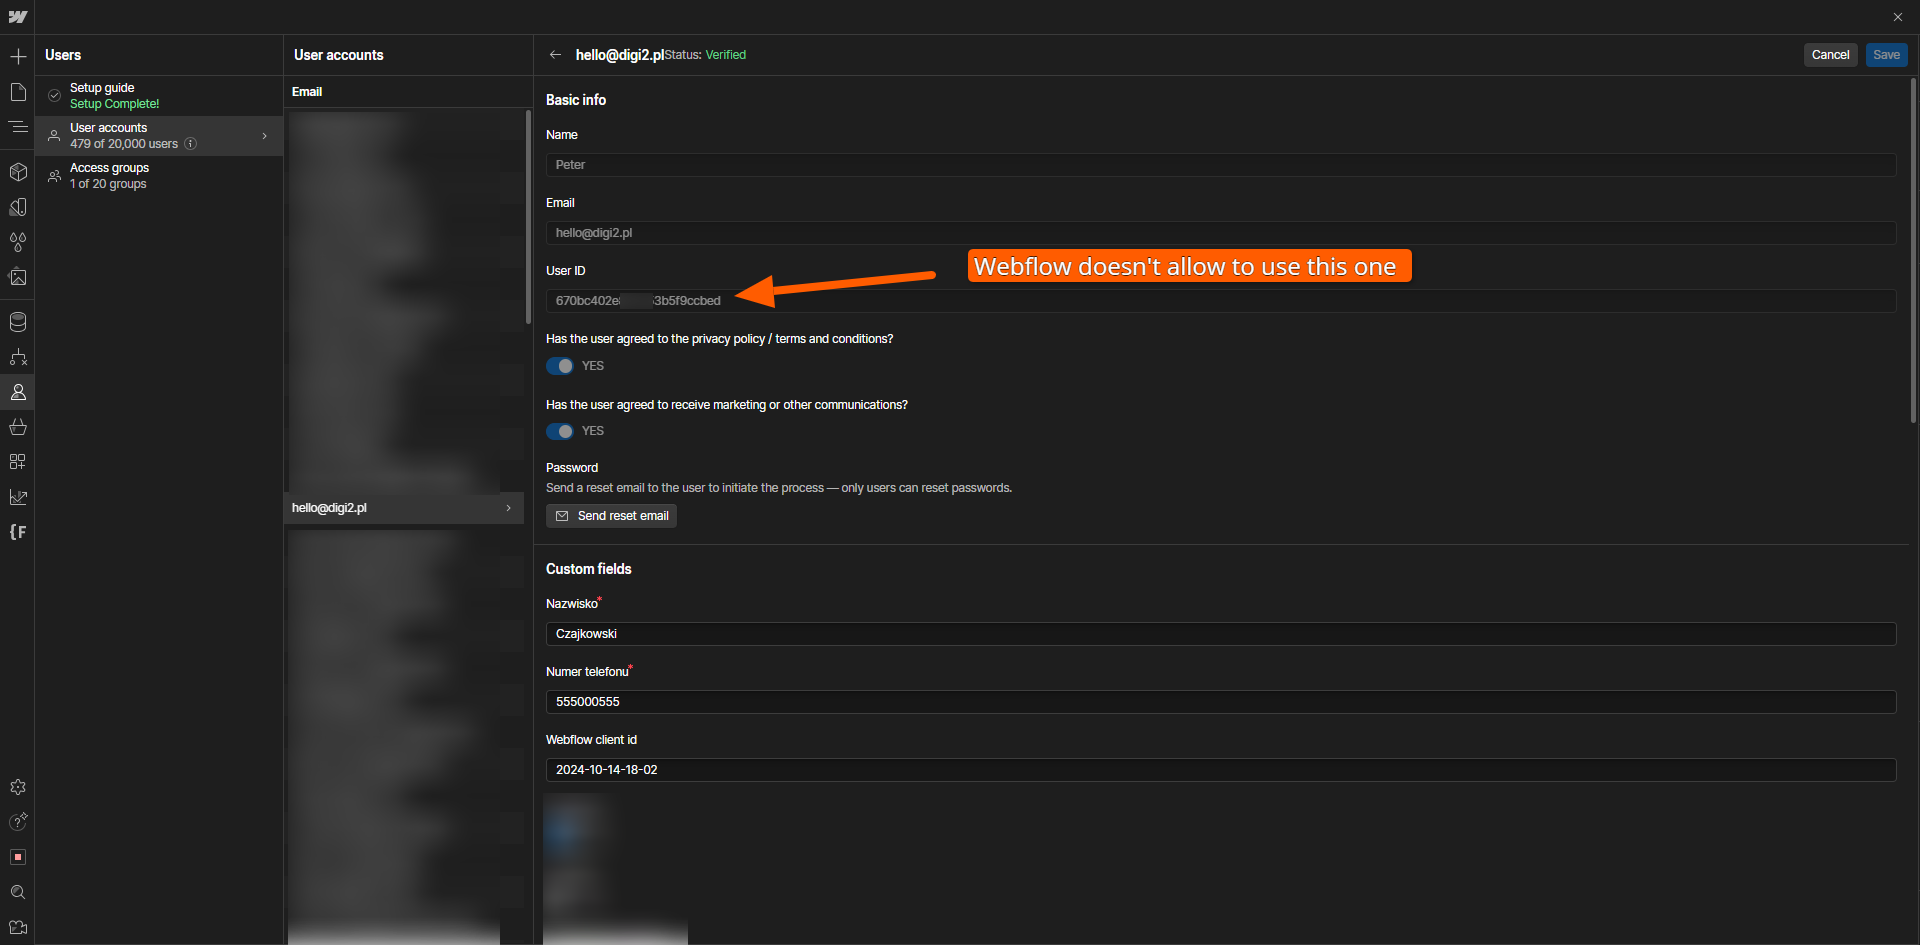
Here's a thing: you have a Webflow website with a members-only section where users log in to access exclusive content. You want to track their actions and link them to a unique identifier, called webflow-user-id. This ID will help you analyze user behavior by sending it to GA4 with every monitored event — of course, only if the user has given their consent.

While Webflow doesn’t offer a built-in way to do this, we’ve created an easy and efficient alternative to Sygnal Attribute solution. Here’s how to set it up.
Webflow Configuration
To implement this solution, there are two key steps in your Webflow configuration:
1. Create a Custom User Data Field
- In Webflow, create a custom text field called webflow-user-id.
- This field will act as the unique identifier for each user.
.png)
2. Add the Field to the User Account Page
- Place the webflow-user-id field in your user account form.
- To keep it invisible, wrap it inside a <div> with display: none. Even though it’s hidden, it must still exist on the page and within the form for this to work.
.png)
With this setup, you’ll have a way to capture the webflow-user-id for each user when they log in.
Why Do We Need the User ID?
The goal here is to send the webflow-user-id to GA4 as the user_id for every event the user performs on your site (with their consent). This lets you:
- track user behavior more accurately,
- gain insights into individual activity,
- create personalized reports in GA4.
Sygnal Attributes Alternative
At Digi2, we prioritize speed and simplicity. While existing solutions like Sygnal.com’s Attribute library work well, they can include features you don’t need, which may slow down your website.
That’s why we created a lightweight alternative — designed to do one thing: retrieve the webflow-user-id and send it to GA4.
Our Solution
Our Digi2 v1.0 solution (tested on production and works pretty good):
Put the code below into your <head> tags above Google Tag Manager script.
<script>
  // Retrieve the userId from localStorage
  const userId = localStorage.getItem('userId');

  // Push the user_id to the dataLayer
  if (userId) {
    dataLayer.push({
      'userId': userId
    });
  }
</script>
Next, put the code below to the end of the <body> tag.
<script>
  function checkCookieAndRunScript() {
    try {
      const wfLoggedInCookie = document.cookie.match(new RegExp('wf_loggedin=([^;]+)'));

      if (wfLoggedInCookie && wfLoggedInCookie.length > 1) {
        const wfLoggedInValue = wfLoggedInCookie[1];

        if (wfLoggedInValue === 'true') {
          const userId = localStorage.getItem('userId');

          if (!userId) {
            createIframe();
          }
        }
      } else {
        localStorage.removeItem('userId');
      }
    } catch (error) {
      console.error('Error checking cookie or running script:', error);
    }
  }

  function createIframe() {
    const iframe = document.createElement('iframe');
    iframe.src = '/user-account';
    iframe.style.display = "none";
    document.body.appendChild(iframe);

    setTimeout(function() {
      const iframeDocument = iframe.contentDocument;

      const userIdInput = iframeDocument.getElementById('ga4-client-id');

      if (userIdInput) {
        const userId = userIdInput.value;
        localStorage.setItem('userId', userId);
        dataLayer.push({
          'userId': userId,
          'event': 'login'
        });
        console.log('userId:', userId);
      } else {
        console.error('Element #ga4-client-id not found in iframe');
      }
    }, 4000); // Adjust the timeout as needed
  }

  document.addEventListener('DOMContentLoaded', checkCookieAndRunScript);
</script>
How It Works?
1. First we check if user is logged in in Webflow. The code checks if there is a wf_loggedIn cookie and if it exists if the value is true.
.png)
2. Then we try to get the webflow-user-id from the account and save it to localStorage as a new key “userId”. Because Webflow doesn’t allow us to add the webflow-user-id field value to every page, we have to get it from the account page by creating <iframe> of this page and get the value from this <iframe>.
.png)
3. Once we have userId saved in localStorage, we create a dataLayer with its value.
.png)
4. Next, we add the Configuration Parameter in Google Tag Manager → Google Tag, so every event we track on the site has filled the user_id if it exists in dataLayer.
.png)
5. Now it’s time to test our solution to get user_id from the Webflow User Account.
To test it we used Analytics Debugger in Chrome browser to be sure that all works like supposed to.
.png)
.png)


